How I improved my UI for My VST Plugins Using Free 3D Software
Hey guys, it's been a while since I posted here on the forums, I wanted to highlight that I have been learning and improving the UI of my VST plugin development during my free time.
I have been learning how to use JUCE (projucer) VST development plugin, it's been almost 6 months of learning.
What have I learned?
I must be honest, but creating a 3D based UI (user interface style) VST plugin is a lot harder than it looks!
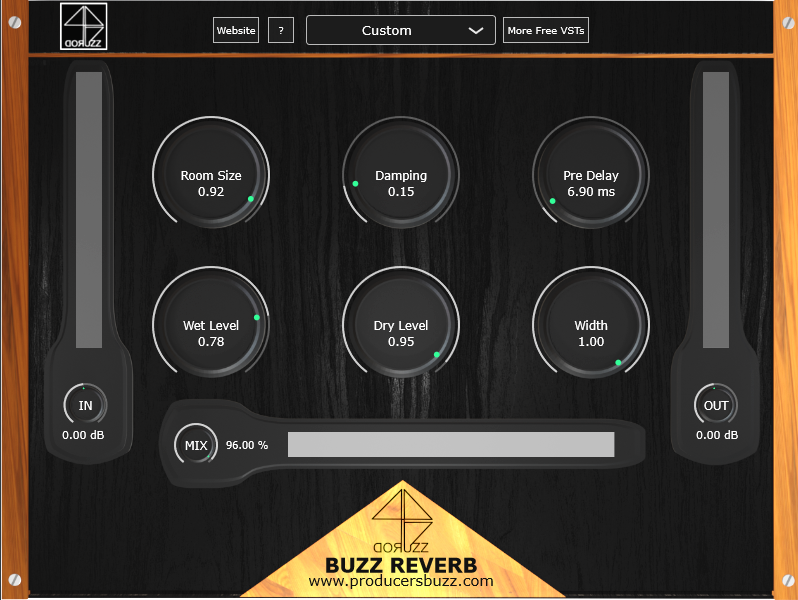
Before I give you more info on the whole process and obstacles I have endured during my UI development of VST plugin, let's have a look at my previous VST UI design style, this was achieved using GIMP (free photo editing software), check out my UI designed which was 100% 2D design based, mainly based on graphical shadows, graphical design and effects.
My previous 2D VST UI design shown below (image).
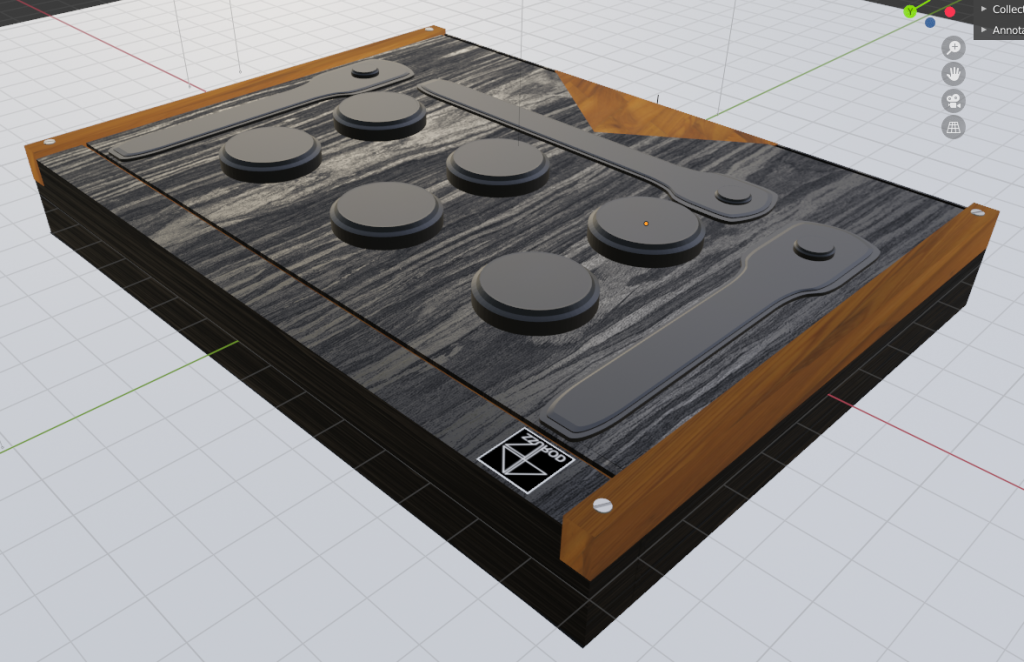
Now I have improved this into 3D style UI VST plugin, before I tell you the whole process, let me show the 3D UI design version below.
Current 3D VST UI design shown below (image). (Also, I have updated some of the features in my recent release)
Now as you can see, it looks 100x better when the UI is designed in 3D software, it looks a lot cleaner, it looks lot smoother, and lot more professional.
What do I think about the process of making 3D UI style VST plugins compared to simple 2D plugins?
All I can say it very hard, it took me weeks and months to fully learn how to use Blender 3D, which is a free 3D software, designed for the public to use freely.
Whist using Blender 3D, I had to learn all of these obstacles below to design a pro style 3D UI VST plugin.
- I had to learn how to add cameras, move the cameras into position inside Blender 3D, critical for correct final image of 3D VST render. (Render is referred to final image of whole 3D VST model).
- I had to learn how to add correct light and 3D main scene light, this took me weeks to perfect, I ended up adding 10 different lights with different intensities, to make the final VST render look perfect.
- I had to learn how to add use mesh modelling such as cube, plane and squares, then moving around in face, edges and vertex to model all my rotating sliders, features and the VST itself, this part took me the most of my time, learning how to move around in the 3D space, model what I need to make the VST plugin look professional and good took me weeks to learn, I had to research every single modelling technique, YouTube came in very handy for this. To be honest, I felt like a right newbie, but then again I was quite new to 3D blender. This part is the hardest to learn, for anyone wanting to make 3D style UI VST plugins, learning 3D blender features, UI and whole process is very time-consuming.
- I had to learn how to add HDRi's, this is light background reflection which affects the whole 3D scene, this was quite hard to understand but I managed to get it to work, and polyhaven's hdris came in very handy, they come at CC0 license meaning they can be used for any commercial or commercial product release including paid or public projects, it was a lot of work just for the correct light scene and reflections this part of making my VST plugin.
- When it came to adding textures and design colours and material to my 3D model, I designed some material and textures myself and also used some commercial free to use texture from polyhaven, as these are also the same free to use with CC0 (commercial license) and free for the public to use for any commercial projects or products.
- I also had to change the whole unit system of my 3D blender software and resize the whole VST to meet my 900 by 700px requirements or my other VST 800px by 600px, so when I exported my VST plugin, this was in units and had to change this to "PX" pixels. This was quite frustrating as my whole project had to be resized, took me a whole day to get this correct, so it all matched up with my Juve (projucer) VST design coding UI.
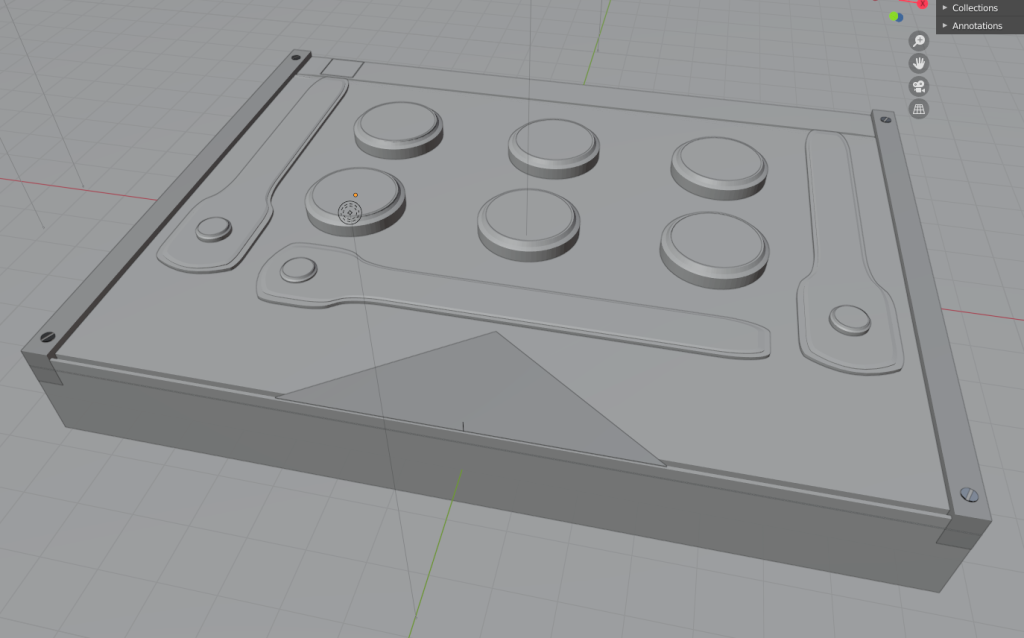
- I had to use a dummy plane as a background modelling reference, this was an export of my UI from juce VST plugin, without any background reference modelling the buttons and everything into the correct position would have been quite impossible. This is a very important feature for anyone who wants to model a 3D VST plugin, make sure you have a reference when 3D modding your VST virtual instrument.
- I had to learn how to switch between object mode and edit mode, texture mode and all other modes, to understand how this free 3D blender software work is quite overwhelming, there's just so much to learn and so many features, in simple terms, it can get very confusing and overwhelming.
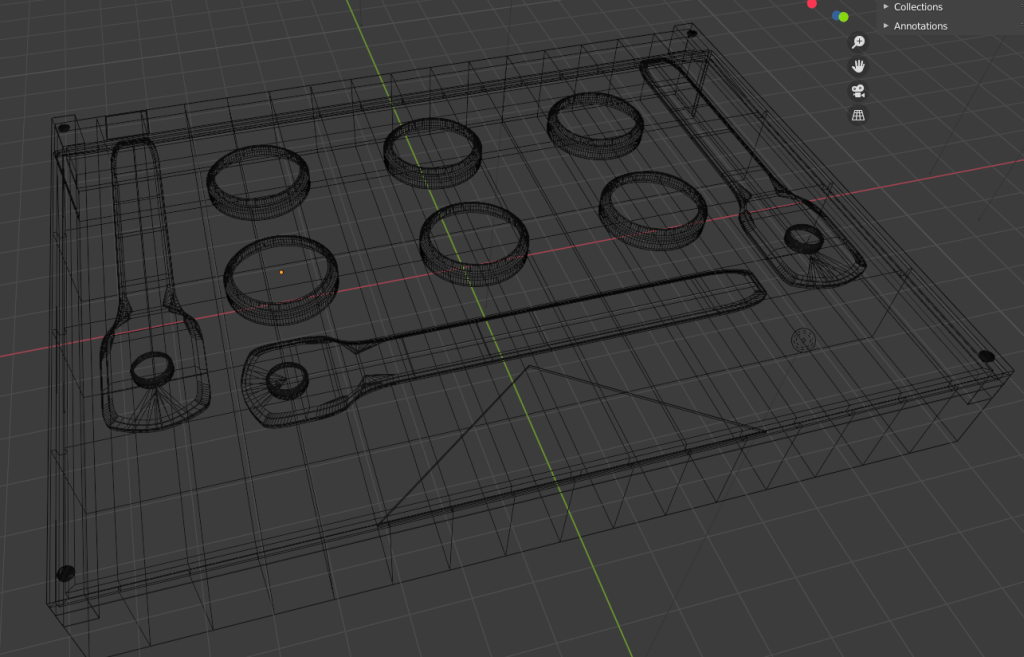
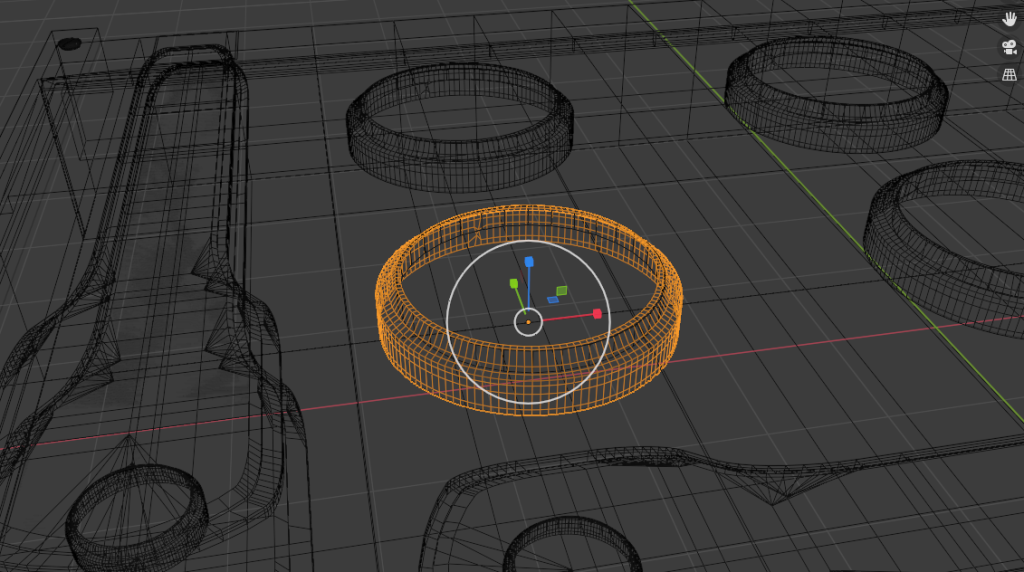
There is so much to write on here, all I can say it's 100x easier to make 2D based VST plugins, I mean look at the 3D mesh of my 3D VST plugin below, so much going on it's highly technical, but super cool!
As you can see, there has been a lot of work involved to get a 3D style VST plugin texture.
I also wanted to design a VST logo for my VST plugins, which took me some time to design inside GIMP, I wanted to make this quite unique and personalized to my VST plugin development.
Check out my VST logo development below, this was designed inside GIMP. I am quite proud how unique this is and how cool it looks! Not going to lie, but going to college and university, studying a bachelor of artist course had helped me allot, this includes music/sound design, 2D/3D design and programming overall.
These skills came in very handy during the making of my VST plugin.
The main hardest thing I came across, whist making a 3D style UI interface VST plugin?
- Modelling the 3D VST plugin elements.
- Aligning everything into place so it matches up with the UI inside Juce, making sure it looks good.
- Post colour correction, 3D texture and 2D UI alignment is time-consuming.
- Using GIMP to create promotional VST plugin 3D images was also very time-consuming, many renders, exports, alignments, blending and so much more.
How long did it take me to learn how to create a 3D UI VST interface?
This took me about a week or 2, but I took some courses on 3D blender before which came in handy, especially when I was designing my VST plugin, it could well take a newcomer a whole month or even longer to fully learn how to use the 3D blender software, I do warn anyone reading this, It's very hard to learn how to use blender 3D, but well worth the time and patience.
Would I go back to making 2D UI instead of 3D style UI for my VST plugins after learning how to use blender 3D?
Never! The VST plugins look 100x better, so if anyone here is thinking about using 3D blender to make VST plugin UI and VST design, then don't even think twice, it will be the best thing you will ever do!
I mean, check the top 2 images of this forum topic, and simply look at the difference yourself, 3D VST plugin UI and VST design looks 100x better, in my opinion, looks lot more professional.
What I used to make this VST plugin?
- Juce (projucer) VST plugin development.
- Xcode and MS Visual Studio for (C++) coding the plugins and also for exporting VST3/AU plugin formats, my VST plugin was designed to support Windows and macOS.
- Grok 3 & 4 (I have premium membership) for support of coding and precise preset development, this made the whole process 1000x faster.
- GIMP for image colour correction, manipulation, resize and promotional final image edits.
- 3D blender for 3D VST UI and plugin design.
- Polyhaven for HDRi background light & reflection map, and for some HD textures.
I have to be honest, I have been learning how to design and develop VST plugins for over 6 months during my spare time, it's been a huge learning curve, there is so much to learn and so much to explore.
Now if you wouldn't believe me that my VST plugins were terrible 6 months ago, then this was my first ever VST design mock up which I designed 6 months ago, check it out below.
As you can see, I have come a long way in design, development and I am still learning, this image above was taken 6 months ago, I wanted to share this to inspire anyone reading this, that you can do this too! If you do loads of research, watch YouTube videos and learn.
Also, I wanted to point out, I never had anyone outline everything required in paragraphs as I have above. When I started, I had to learn everything and research everything myself, so I hope it will guide you guys in the correct path and make things much easier for anyone who's reading this.
Hope this will give you guys a lot more understanding of making a 3D UI style VST plugin and the process of what anyone can endure during the whole process.
If you guys have any questions, drop them below, and I will do my best to get back to you soon as possible.
Leave a reply
Currently viewing this topic 1 guest.
- 21 Forums
- 174 Topics
- 184 Posts
- 13 Online
- 877 Members


